Newborn photoshoot ideas at home work best when the setup stays simple: one safe posing area, soft window light, a quiet room and a small group of coordinated props. This guide explains how to plan that home session without turning the room into a crowded studio.
A good baby photoshoot does not need to feel complicated. The best sessions are usually calm, warm, safe, and simple enough for the baby to stay comfortable.
If you are planning your first baby photoshoot, start with one clear goal: what do you want the final photos to feel like? Soft and sleepy, bright and playful, cozy at home, or styled in a studio? Once you know the mood, it becomes easier to choose the time, light, outfit, props, and poses.
This guide walks through how to make a baby photoshoot step by step, whether you are a parent preparing for a home session or a photographer building a gentle studio setup.
1. Choose the Right Time for the Baby Photoshoot
Timing changes the whole session.
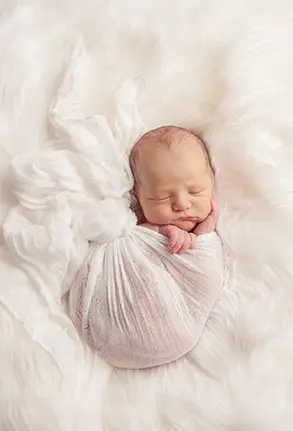
For sleepy newborn photos, many photographers prefer the first 5 to 14 days after birth. Babies are often sleepier, curl more naturally, and fit well in simple wrapped poses. This timing works beautifully for newborn wraps, baskets, parent hands, and tiny detail photos.
For an older baby photoshoot, the best timing depends on the milestone:
| Baby Age | Best Photoshoot Style |
|---|---|
| 5-14 days | Sleepy newborn poses, wraps, tiny details |
| 6-10 weeks | Awake portraits and eye contact |
| 3-4 months | Tummy-time photos and expressions |
| 6-8 months | Sitter milestone photos |
| 12 months | First birthday or cake smash photos |
Try to schedule the session around the baby’s natural rhythm. A baby who has just fed, burped, and had a clean diaper is usually easier to photograph.
For a deeper timing guide, read When should you do a baby photoshoot?.
2. Keep the Baby Safe and Comfortable
Safety is the foundation of every baby photoshoot.
The baby should always be supported, warm, and watched closely. Avoid unstable props, high surfaces, hard edges, or poses that require force. If a pose looks advanced, it may be a composite image made from multiple safe photos. Do not copy it without proper newborn photography training.
Simple safe choices include:
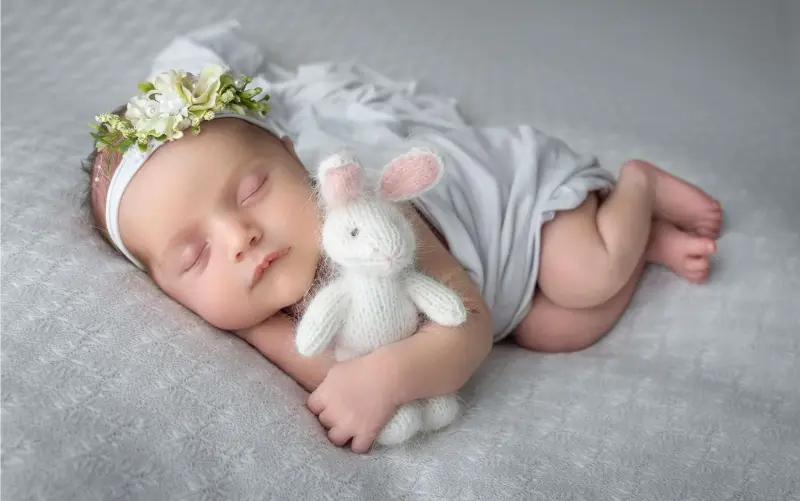
- Wrapped poses on a padded surface
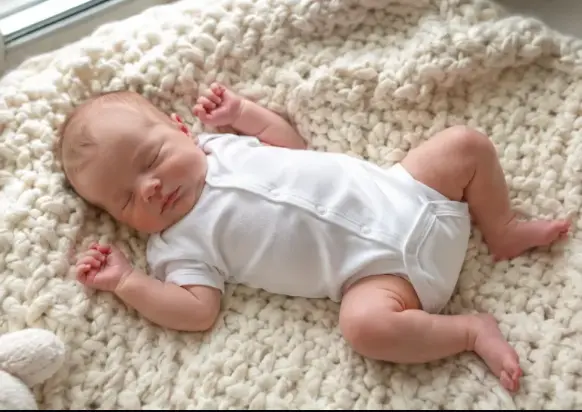
- Baby lying on the back on a soft blanket
- Parent holding the baby close
- Baby placed in a stable basket with padding
- Detail shots of hands, feet, eyelashes, and hair
The room should be warm enough for the baby, but not uncomfortable for everyone else. Keep wipes, diapers, burp cloths, pacifiers, and feeding supplies nearby so the session can move slowly and gently.
If you are working with newborn poses, pair this article with How to Pose Newborns Safely.
3. Plan the Light Before the Props
Light matters more than decoration.
For a home baby photoshoot, choose a bright room with soft window light. Turn off harsh ceiling lights if they create mixed color. Place the baby near the window, not in direct strong sun. Soft side light is usually more flattering than light coming from below or directly overhead.
For a studio baby photoshoot, keep the lighting consistent and gentle. The baby should be the brightest and most important part of the image. If the props are brighter than the baby’s face, the setup will feel distracting.
A simple lighting checklist:
| Check | What to Look For |
|---|---|
| Face light | The baby’s face looks soft and clear |
| Shadows | Shadows are gentle, not harsh |
| Color | Skin tones look natural |
| Background | Nothing bright pulls attention away |
| Catchlight | Awake babies have a small light in the eyes |
Do one test photo before dressing or posing the baby. It is much easier to adjust the room, blanket, or light before the baby is settled.
4. Pick a Simple Color Palette
A baby photoshoot looks more professional when the colors are calm and repeated.
Use two or three main colors. For example:
| Mood | Easy Palette |
|---|---|
| Soft newborn | Ivory, cream, oatmeal |
| Sweet girl session | Blush, ivory, dusty rose |
| Calm boy session | Blue gray, cream, soft brown |
| Natural studio style | Sage, beige, warm wood |
| Seasonal baby photos | One theme color plus neutral props |
Avoid using too many almost-matching colors. Three different pinks or four different creams can look messy in camera. If the outfit is detailed, keep the blanket simple. If the background has texture, choose a quieter wrap.
This is especially important if you plan to print the photos or use them for a studio portfolio.
5. Choose Props That Support the Baby
Props should help tell the story without taking over the photo.
For newborns, the most useful props are often the simplest:
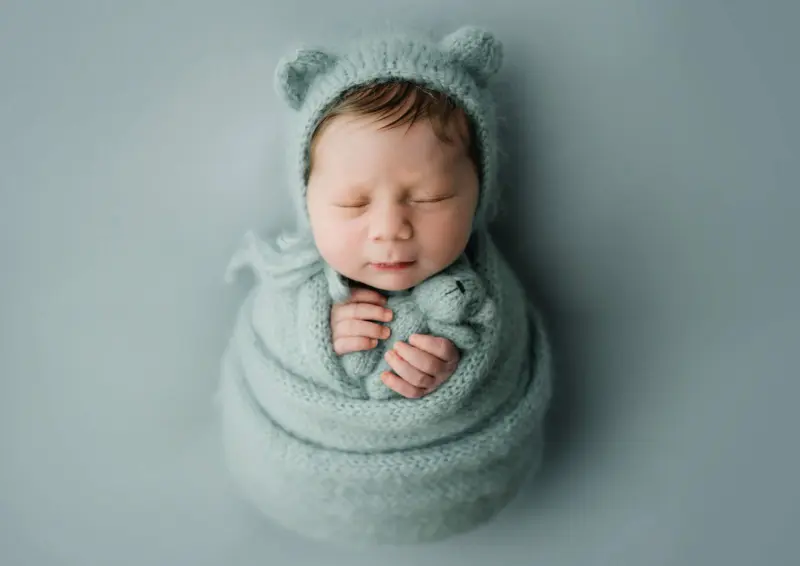
- A soft wrap
- A bonnet or headband
- A neutral blanket
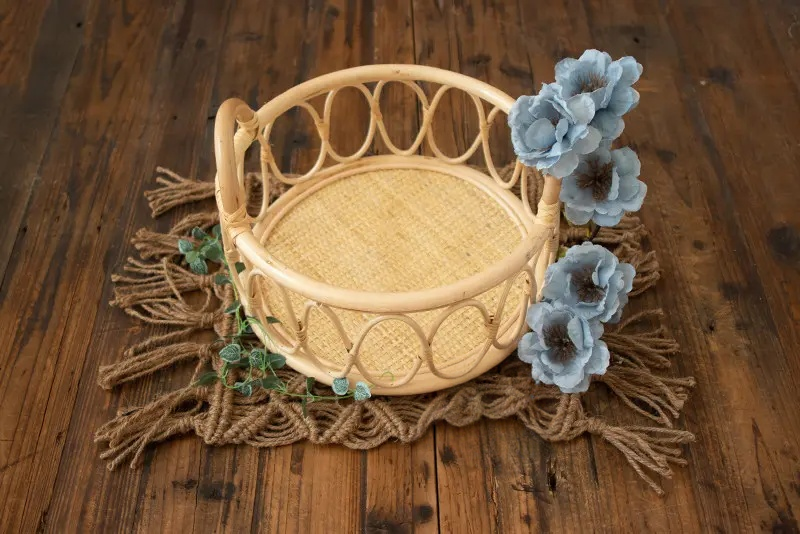
- A stable posing bowl, bed, or basket
- One small themed accessory
If you want a styled baby photoshoot, choose one main idea. A bear theme, floral theme, moon theme, sports theme, or seasonal setup can work well, but the theme should still leave the baby as the focus.
You can browse newborn photography props for simple pieces, or use newborn theme sets when you want a ready-made scene.
6. Prepare Baby Outfits and Wraps
Outfits should fit the baby’s size and the photoshoot mood.
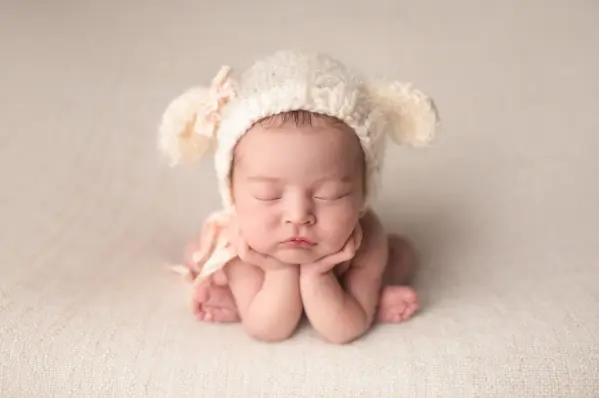
For a newborn baby photoshoot, wraps are often easier than full outfits because they keep the baby secure and reduce movement. For older babies, rompers, knitted outfits, dresses, bloomers, and simple milestone outfits can work well.
Good outfit rules:
| Do | Avoid |
|---|---|
| Choose soft fabrics | Scratchy lace or stiff seams |
| Check size before the session | Oversized outfits that cover the face |
| Keep one hero detail | Too many bows, buttons, and props |
| Match the color palette | Loud colors near the baby’s face |
| Have a backup outfit | Only one option in case of mess |
If the outfit is handmade or custom, test it before the session day. Make sure the baby can move, breathe, and rest comfortably.
7. Use Simple Baby Photoshoot Poses
You do not need many poses to create a full gallery.
Start with safe, simple photos and make small changes. For example, begin with the baby wrapped on a blanket. Then photograph close details, parent hands, a side angle, and a wider setup. One calm pose can become several useful images.
Easy baby photoshoot poses include:
- Baby wrapped and lying on the back
- Baby in parent arms
- Baby on a soft blanket with hands near the face
- Baby in a stable basket with padding
- Older baby on tummy time
- Sitter baby sitting with support nearby
- Detail photos of feet, fingers, lips, and hair
Never rush to get one specific pose. If the baby does not like it, move on. A relaxed baby almost always photographs better than a forced pose.
8. Make the Session Feel Calm
Babies respond to the energy in the room.
Keep the space quiet, warm, and slow. Limit how many people are touching or moving the baby. Prepare props before the baby arrives so the session does not pause too often.
For parents, bring extra diapers, milk, wipes, a pacifier if used, and a change of clothes. For photographers, prepare the first setup before the family arrives and keep backup blankets close.
A calm baby photoshoot usually has fewer setups and better images.
9. Take Detail and Family Photos
Do not forget the tiny details.
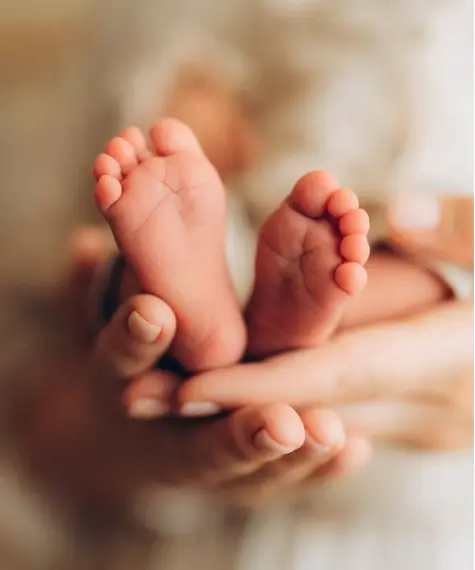
Close-up photos of fingers, toes, hair, lips, and parent hands are often the images families love most later. They make the gallery feel complete and emotional, even if the baby needs extra feeding or does not sleep the whole time.
If parents are present, include them. They do not need to be fully styled for every photo. Parent hands, a shoulder, a kiss on the forehead, or a simple holding image can add scale and feeling to the baby photoshoot.
10. Finish With a Clean Gallery Style
Editing should match the mood of the session.
For a soft baby photoshoot, keep skin tones natural and avoid heavy filters. Bright white backgrounds, warm creams, and pastel props can shift color easily, so check that the baby’s skin still looks real.
When choosing final images, look for:
- Comfortable baby expression
- Clean light on the face
- Simple background
- Natural skin tone
- Props that support the image
The final gallery does not need 100 photos. A smaller set of calm, well-edited images often feels more valuable.
Baby Photoshoot Checklist
Before the session, prepare:
| Item | Why It Helps |
|---|---|
| Feeding supplies | Keeps baby settled |
| Diapers and wipes | Saves time during breaks |
| Soft wraps | Helps newborns feel secure |
| Backup outfit | Handles accidents |
| Neutral blanket | Works with many setups |
| One theme prop | Adds personality without clutter |
| Warm room | Helps baby relax |
| Clear light source | Makes the photos cleaner |
If you are a photographer building a prop collection, start with neutral wraps, a few soft outfits, one stable basket or posing bed, and a small number of theme props. You can add more later once you know your style.
FAQ: Baby Photoshoot
How do you make a baby photoshoot at home?
Choose a bright room with soft window light, use a simple blanket, dress the baby in a comfortable outfit, and keep the session short. Focus on safe poses, parent hands, close details, and natural expressions.
What is needed for a baby photoshoot?
You need good light, a warm space, feeding supplies, diapers, a soft blanket, one or two outfits, and simple props. For newborns, wraps and safe posing support are especially useful.
What is the best age for a baby photoshoot?
For sleepy newborn photos, many sessions happen around 5 to 14 days. For more expressions, 6 to 10 weeks works well. For tummy-time or sitter photos, 3 to 8 months can be a lovely stage.
How long should a baby photoshoot take?
A simple home baby photoshoot may take 30 to 60 minutes. A newborn studio session may take 2 to 3 hours because feeding, soothing, and safe posing take time.
What should a baby wear for a photoshoot?
Choose soft, well-fitting clothes in gentle colors. Wraps, knitted outfits, rompers, simple dresses, bonnets, and headbands can all work if they are comfortable and do not cover the baby’s face.
Final thought: the best baby photoshoot is not the one with the most props. It is the one where the baby feels safe, the light is soft, and every detail supports the memory you want to keep.
Browse newborn wraps and blankets or newborn outfit props if you need simple pieces for your next baby photoshoot.